
I’m sitting here, drinking some hot chocolate, listening to Christmas music and absolutely EXHAUSTED from working 5am-2pm on Black Friday. But, I LOVE Christmas, so I’m here writing Day One for the 12 Days (aka posts) of Christmas. Since our apartment was decorated on November 1st (yes, that early), I thought it would be nice to show you the first DIY project I worked on this holiday season to decorate our home. This is so very easy and makes such a great impact on the space. ‘Tis the season for anything with a little (or a lot of) sparkle!
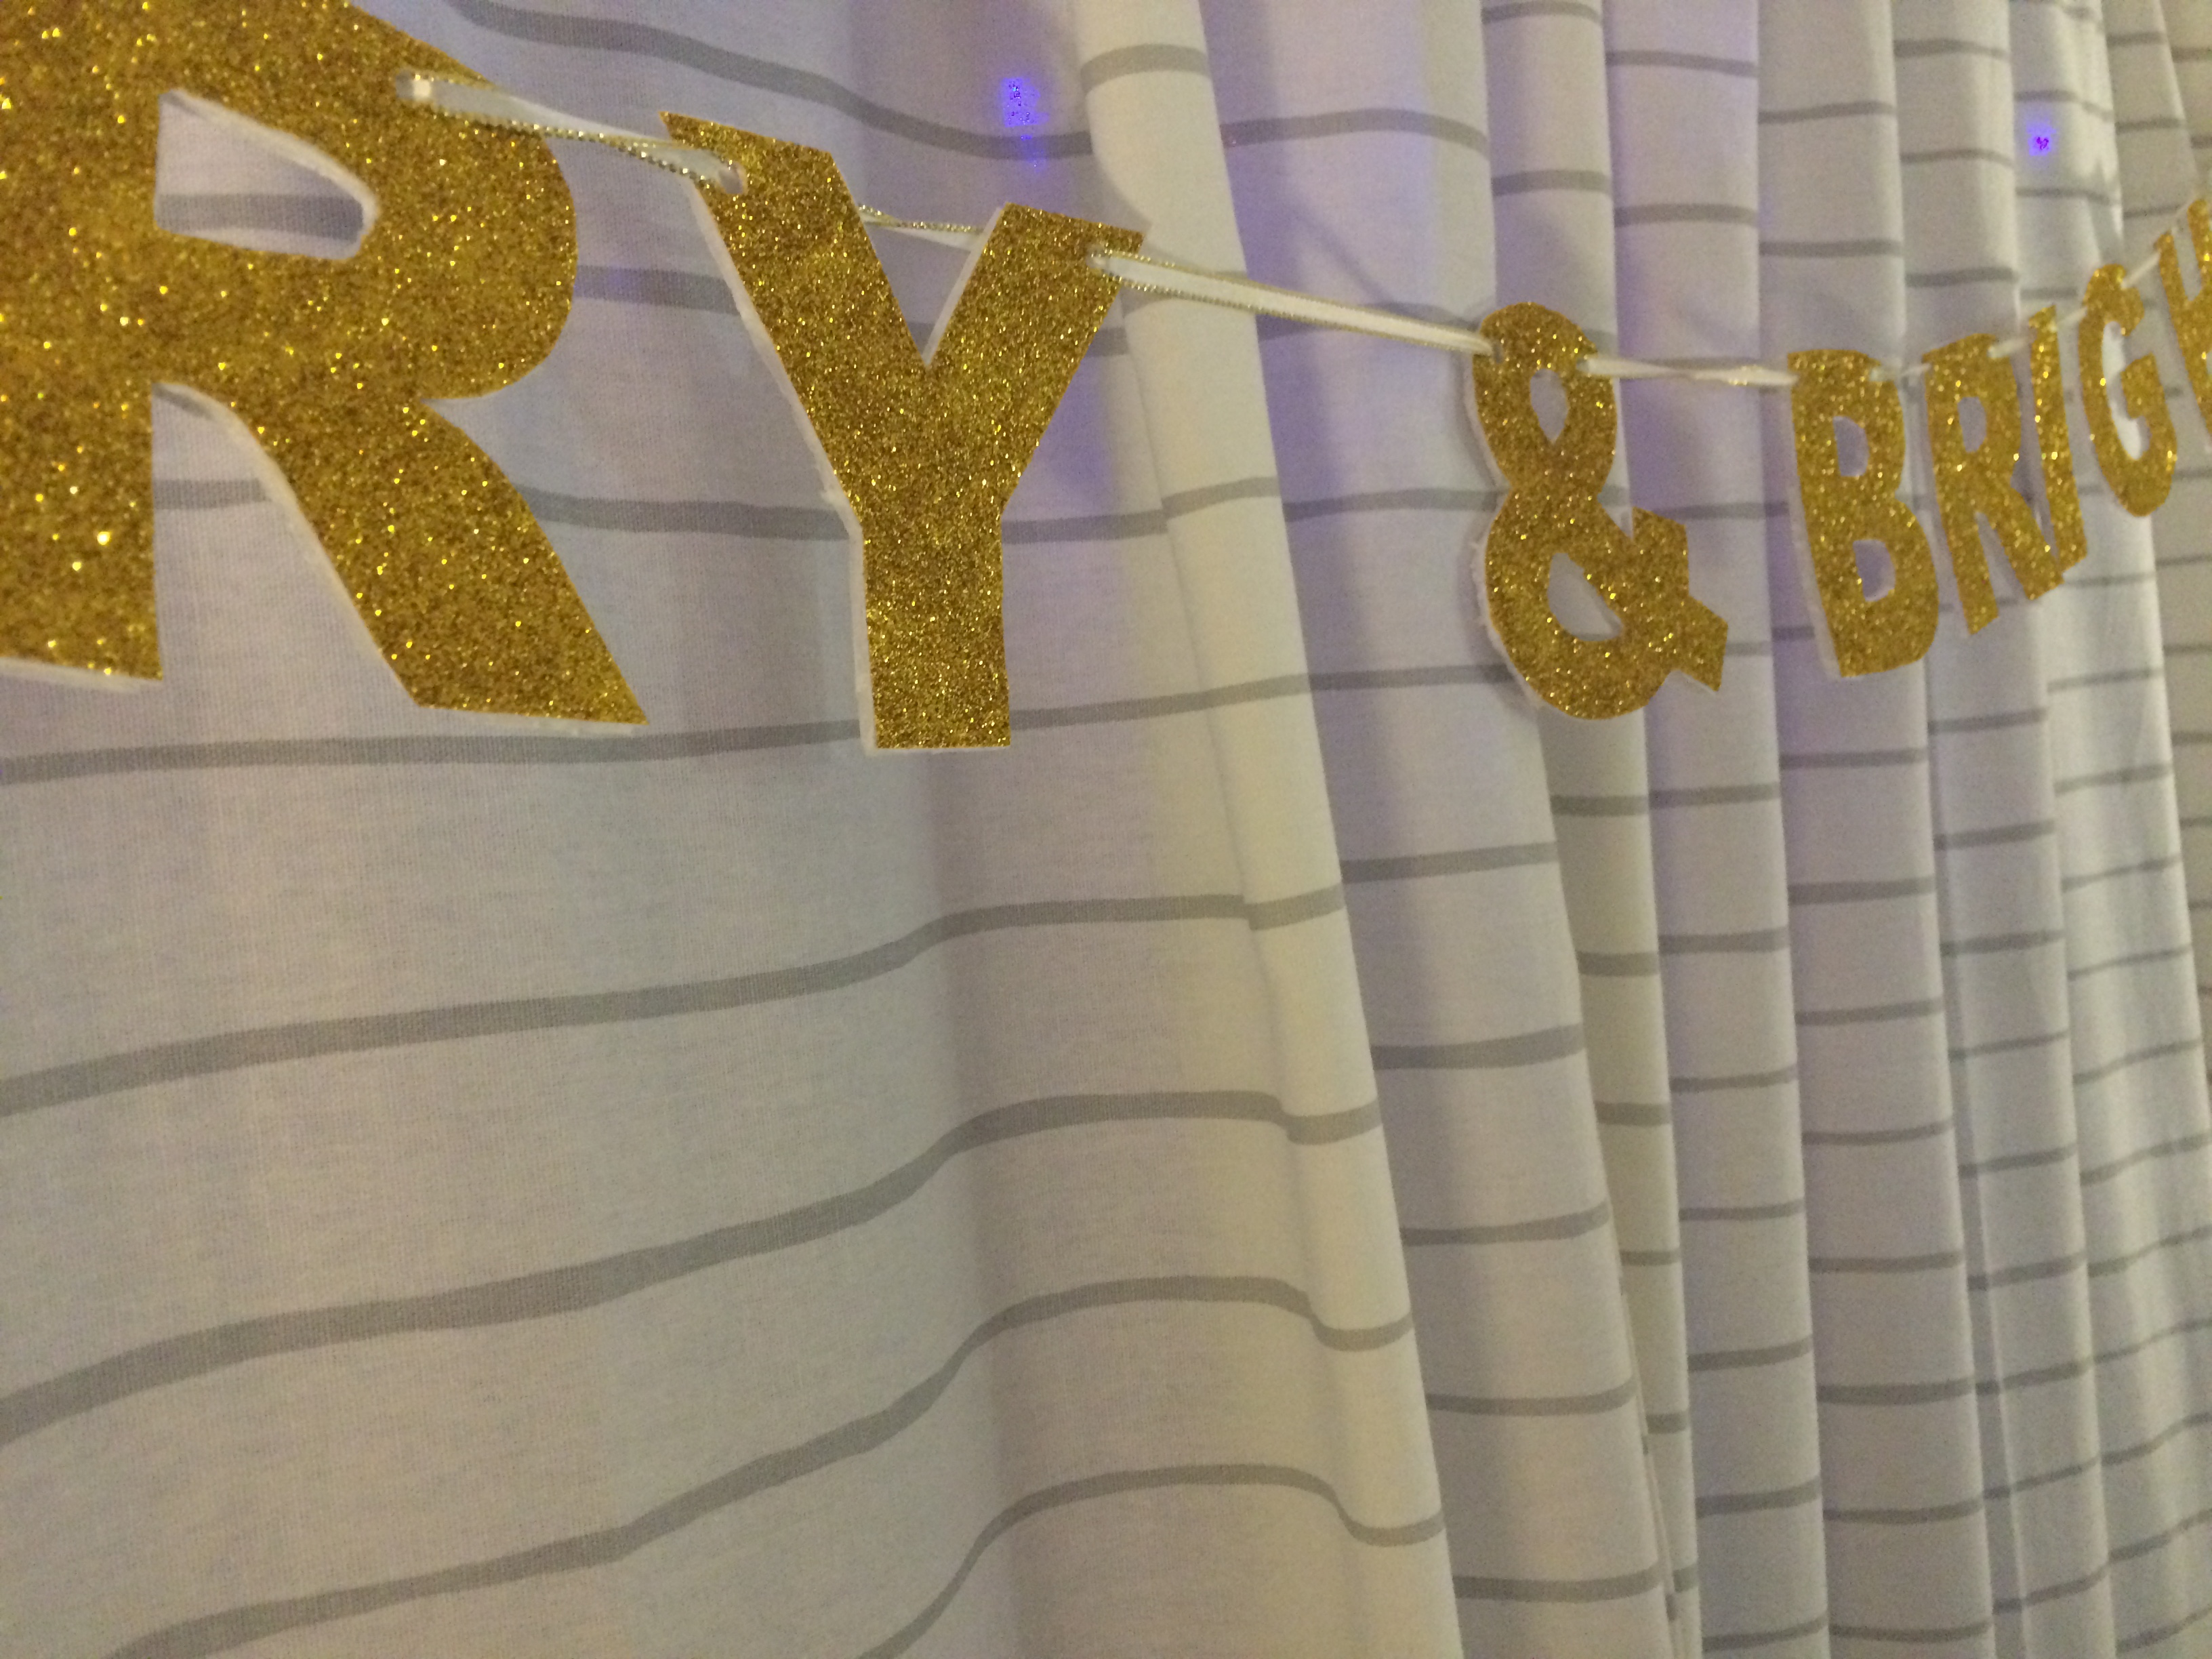
Follow below to see how I made this “Merry and Bright” Garland. Since we don’t have a mantel, I opted to hang this from our large living room windows. You can make any saying you like, just cut out the letters accordingly!
What you’ll need:
- Foam Board (1)
- White Glue
- Glitter (loose) or Glitter Paper
- Hole Puncher
- Scissors
- X-acto Knife
- Ribbon (Length will vary on size of your phrase. I used one role)
Instructions:
Step 1: Make the letters!
You can do this a couple of different ways. I initially was going to cut out letters from foam boards and glue on loose glitter. But, I found sheets of gold glitter paper at my local dollarstore! I printed out letters individually from a Word Document and traced them on the glitter paper. To make the letters more sturdy, I glued the paper onto foam board, let it dry overnight and then cut out the letters.

Step 2: Prep the letters.
I bought some cream and gold ribbon for the garland. I used a hole punch to punched two holes on the outer corners of each letter.

Step 3: Assemble the garland!
String the first letter of the first word. In this case it was ‘M’, so I threaded the ribbon through the holes and slid the letter all the way to the very end of the ribbon. Continue this until your entire phrase is on the ribbon. Don’t worry about spacing, you can fix that once it is up!

Step 4: Decorate!
Tie or tape each end of the ribbon to your desired location. Then you can space out the letters and words to how you like it.


 There you have it – a DIY Garland in 4 easy steps!
Do you have any fun DIY’s that you look forward to creating each Holiday season? Let me know in the comments below!
Merry Christmas!
lxiv

Leave a reply to Kelly Cancel reply